Disclaimer - I received this product at a discount in exchange for my honest review.
The second @Tasty stuffed cookies dessert kit I got to try is called Cookies & Creme Come True. This kit includes Chocolate Cookie Mix, White Chocolate Bar, and Chocolate Cookie Crumbs. Extra ingredients needed to purchase separately are the same as before, butter and egg. Also just like the other kit, this makes 12 cookies. I did see one person on Instagram tweak the product to make one big cookie in a round glass baking pan. I could also see adding the dough to a square pan and making this in small brownie form too. Half the fun of cooking is being creative and trying new things. Of course the other half is enjoying the fruits of your labor. :)
As before, I liked how this box clearly shows the consumer what ingredients are included and which ones you'd have to supply yourself. The back features the same picture included instructions. While this flavor kit had less supplied ingredients, I liked the fact that it called everything the same as the ingredient list. It was much clearer in the instructions as to which product was used when in the recipe. This kit also included 3 suggestions for alternate recipe ideas - Cookies-and-Creme Sandwich Cookies, Chocolate Peanut Butter Cups, and Cookies-and-Creme Egg Rolls - with the detailed recipes on the inside flap.
Let's take a look at what's inside! Once again, the individually wrapped and labeled ingredients is much appreciated for preventing spillage and ensure freshness.
An extra bonus is that more recipes are featured on the back and inside of the white baking chocolate bar provided with the kit.
Let's get to baking! First step of any cooking project is mise en place - get all of your needed ingredients out and ready on your workspace. Not only did I use my tip of using the butter wrapper to measure out 1/4 cup to prepare for today's recipe but it's also easy to figure out since the 1/4 cup measurement on a full stick of butter is literally half the stick of butter. Between the two boxes, I only used 1 full stick of butter and 2 eggs. This would be a great cooking project on a day when you don't have a lot of ingredients on hand.
This time I chose to use our metal mixing bowl - much easier to blend with the hand mixer. The first thing these kits instruct you to do is to heat your own to 375°F. Unless you have a really slow to preheat oven, I found it more practical to start the preheating process once the dough goes into the freezer to chill.
This cookie kit's step 1 calls for Beat (softened) butter, egg and Chocolate Cookie Mix with hand mixer until blended. This kit makes a very dark brown colored cookie and even though I'm an adult, all I could think when I saw this blended dough was how much it reminded me of our stop at Williamsburg last fall learning about "If it's round and brown, go around!" The fact that this dough was stickier to handle during the freezing step really um, "solidified" that image for me.
Next part of step 1 called for putting the newly blended dough into a sealed freezer bag and chilling in the freezer for 15 minutes.
The last instructions in step 1 involve the White Chocolate Bar. If you open the box from the skinny end, the bar slides right out in its wrapper so you can easily preserve the recipes printed inside if you'd like. Nice to see that unlike a regular chocolate bar, none of the squares were broken or cracked. However, these baking chocolate bars whether white or milk/dark chocolate do not taste the same as your average Hershey's Bar so resist the urge to dive in right out of the wrapper.
Break off 6 small rectangles from the bar, then break each small rectangle in half. I liked how easy it was to break off those top 6 rectangles by hand and that they broke off evenly. For the cuts in half again making little squares, I did start off by scoring the halfway point with a knife before breaking them fully apart by hand. Certainly could break them totally by hand here as well.

Reserve remaining chocolate bar for later use. Reserve 1 Tbsp. Chocolate Cookie Crumbs for later use; pour remaining Chocolate Cookie Crumbs into shallow dish.
Cookie dough chill time is up so it's time to mise en place for Step 2 & Step 3. For these steps, you'll need a parchment covered baking sheet, the chilled dough, the now 12 tiny squares of white chocolate and the larger amount of Chocolate Cookie Crumbs. I transferred them to a slightly bigger bowl for easier cookie rolling.
Scoop the chilled cookie dough into 12 mounds, using 1 Tbsp. dough for each mound; flatten into 2 inch round. Even frozen this dough felt very sticky and left me with very goopy hands. If your child loves getting messy in the kitchen, they'll love this particular kit.
Place 1 piece of White Chocolate on the center of each round. Mold dough around chocolate to completely enclose chocolate. While the S'mores flavor had me forcing 2 large chocolate discs into a small cookie mound, this one only called for a single square of white chocolate. Much easier to close the cookie dough around the chocolate but once done, I found that it made it hard to find the stuffing in this stuffed cookie once eating. Like putting a single blob of mayo on one corner of your sandwich rather than spreading it across the bread. I did have extra white chocolate at the end so it wouldn't really break the bank of ingredient supply if you experimented with adding 1 1/4 squares worth of white chocolate in this step instead.
Roll the now stuffed balls of dough in the Chocolate Cookie Crumbs before placing on the parchment covered baking sheet.
Bake 10 to 12 minutes or until cookies are puffed and set around the edges. Cool 5 minutes.
Just like the S'mores cookies, these cookies transferred easily off the parchment paper leaving barely any mess behind. Clearing away the used parchment paper and wiping off any transferred crumbs was all the clean up needed for the baking sheet.
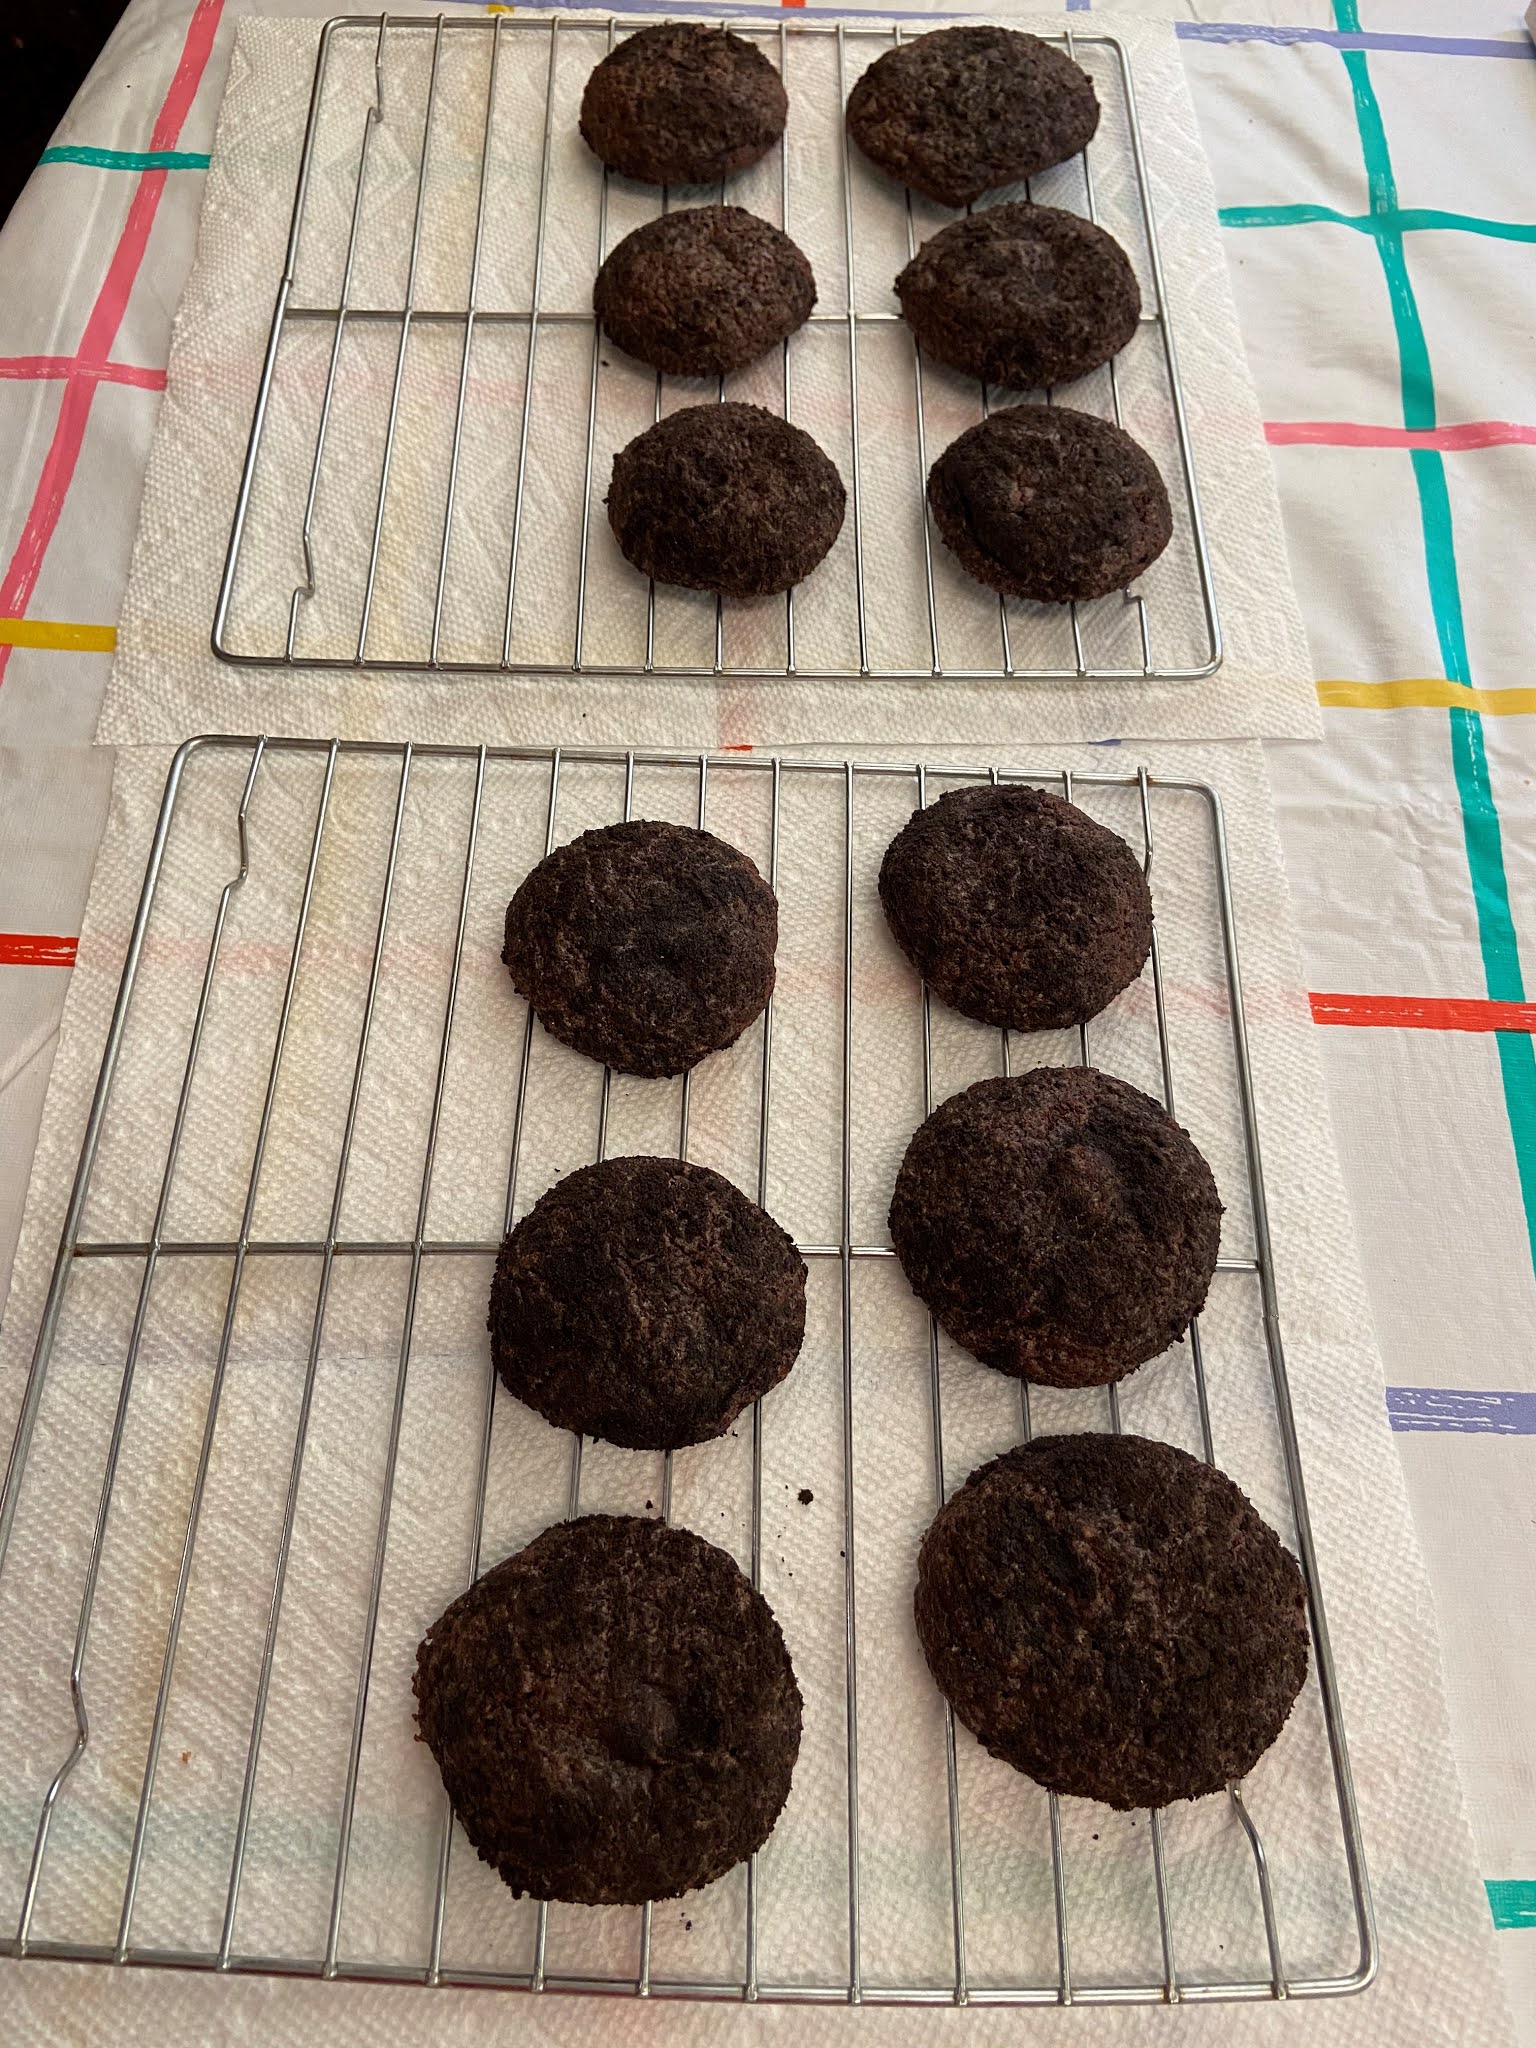
Transfer to wire racks.

For the final step, microwave the reserved White Chocolate Bar in a microwaveable bowl on High 1 minute, or until melted, stirring after 30 seconds. Drizzle over warm cookies. The box notes that the melted white chocolate will harden as it sits so you'll need to do this drizzling step right after melting the white chocolate. It also means it hardens on your finished cookies too. The box suggests making your own piping bag of sorts by spooning the melted chocolate into a small sandwich size resealable plastic bag. Cut a small corner off the bag, then use it to drizzle the melted chocolate over the cookies. That is a handy kitchen hack that can be used for precise delivery of most anything for cooking. If you're not super particular about where the drizzle ends up, the same scoop out with a spoon and fling across the cookies randomly like I did with the S'mores works just as well. It does harden on the spoon and bowl after use however so it took a bit of a scrub to clean up versus just tossing the bag when you're done.
A science lesson to go with the math lesson - an item with more surface area exposed melts quicker. For example, that's why those mounds of piled up snow from plows and shoveling take so long to melt. Rather than tossing the rest of the white chocolate bar into a bowl and microwaving as is, I broke apart the remaining rectangles first. It will look like you didn't make much progress after that first 30 seconds but once you move the spoon around to stir, it will all smoosh down. Left picture is before microwaving. Right picture is after the full minute of microwaving with a stir at the 30 second mark.


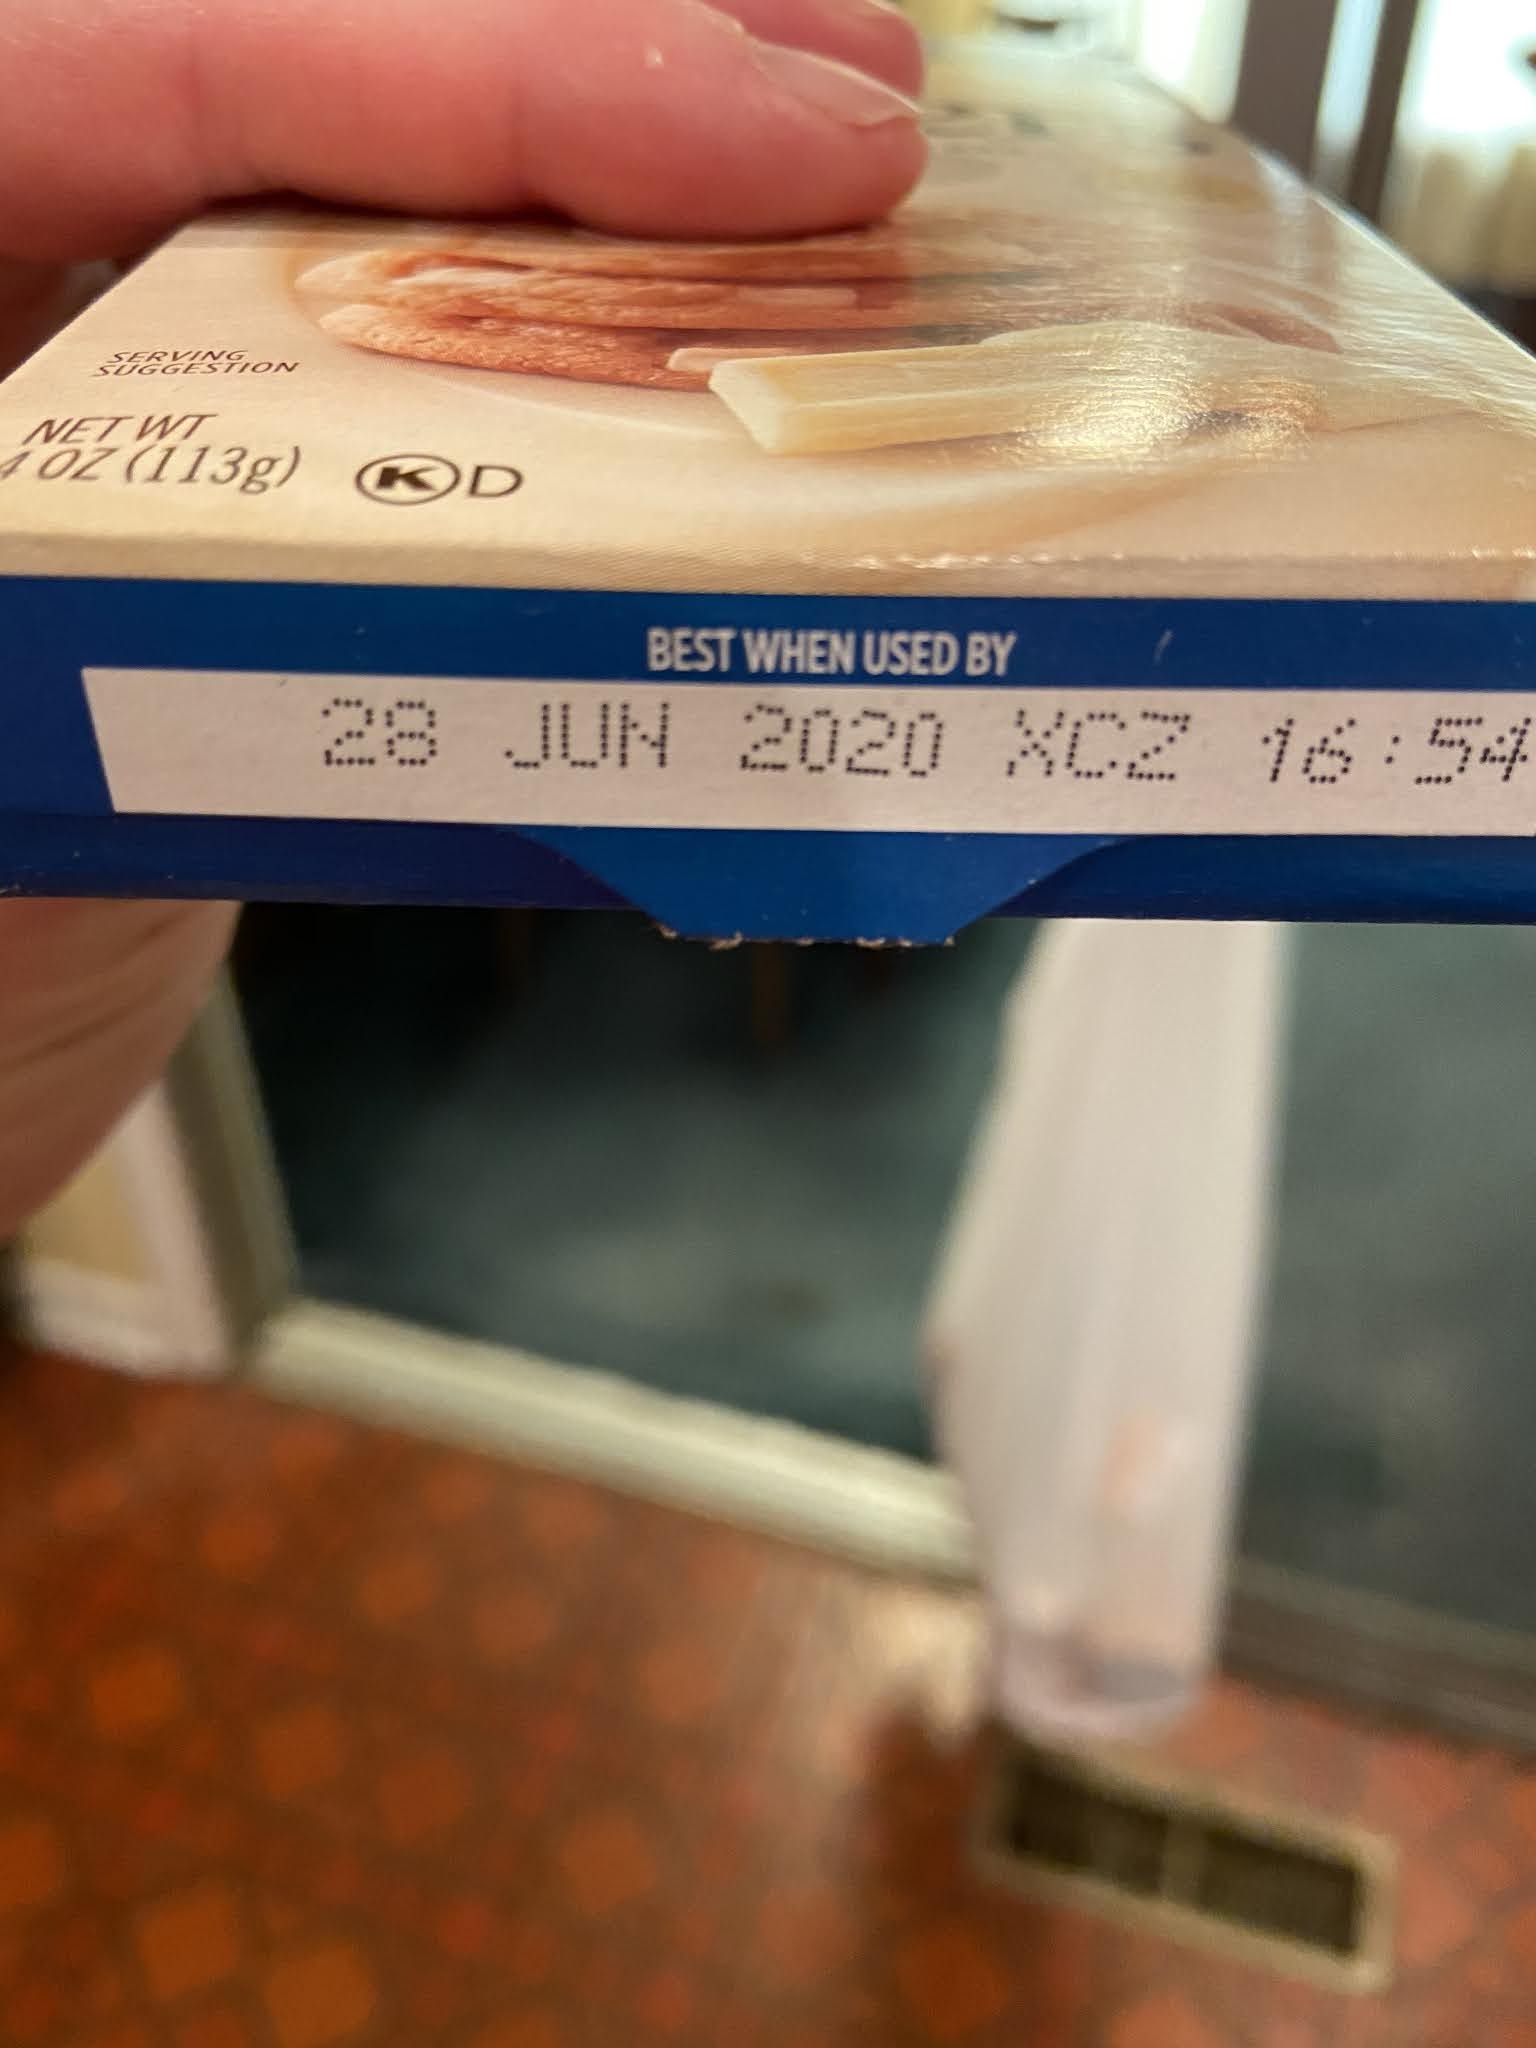
It was at this point when I was breaking down the cardboard wrapper of the chocolate bar for recycling that I noticed the expiration date listed on the bottom flap. I purchased these cookie mixes in mid August and prepared them in late August. As you can see by the picture on the right, the mix itself has an expiration date of October 25th. Yet the white chocolate bar has an expiration date of June 28th. A lot of baking products can be safely used within reason soon after their expiration dates as long as the product hasn't changed consistency, smell, or attracted friends of the gross and multilegged kind. I still used the bar and happily ate the results but it was a little off putting to find such a discrepancy between the two dates. I could see having a bar expiring June 28th in a box expiring in July or August but not October.


Top with reserved Chocolate Cookie Crumbs. I admit by this point, I soon got tired of sprinkling nicely all over the plate and just dumped the rest of the reserved crumbs over the plate.
Honestly, while this was supposed to be the final step in the S'mores cookie as well, it confirmed for me that it is better without the extra topping. Even more so when one or two of the cookies get doused in crumbs and create a gritty coating on top of the white chocolate. As stated above, I found it tough to find the white chocolate inside until getting to that one specific bite which was usually the last bite to finish off the cookie. Also, these cookies tended to dry out much quicker than the S'more making them even tougher to chew by the end of the day.
Time to go to the judges:
Al - was better without the cookie crumbs. Both are good, I mean I'll happily eat them, but the S'mores one was better. It really tastes like eating a S'more.
Sandi - They're okay. Can I have another? I like the S'mores one better. Were there any other flavor options to try?
Me - The S'mores one was definitely better of the two. I didn't like this Cookies & Creme one as much because it was a tougher consistency to eat and lacked in white chocolate stuffing.
Certainly worth trying for yourself at home and seeing what your family thinks. Did these kits make baking any easier? Yes minus the few issues with wording and amount of chocolate used. Did it make clean up from baking any easier? Absolutely! No having to clean a bunch of different spoons and measuring cups or scrub baked on cookie off a cookie sheet. Did my family enjoy the finished product? My family was so happy to get cookies of any kind that they have had no problem polishing off the supply.
Walmart sells these Tasty Dessert Kits for $4.97 each. Cheaper than having to buy each ingredient at the grocery store and easy to keep on hand for a rainy/snow day activity. Happy baking!


No comments:
Post a Comment